Your campaigns are largely customizable to best suit the colors of your event or the nature of your message.
To modify it, you can choose to use one of the proposed templates (Invitation, Reminder, Thanks).
Then you can drag and drop the content blocks (Image, Text, ...) from the toolbox on the left of the central block.

- Insert text: It allows you to insert free text. Once added and selected, a toolbar similar to what you will find on Word or Page is available to manage the format, size, or color of the font. You can also use the toolbar to manage links, alignment, or background color.

- Insert images: The required formats are .jpg, .jpeg, .png, .gif, .webp and must not exceed 1MB in size. The maximum display size of your images within an email is 600px wide.
- Add a button: You can add a button with a link that goes directly to a page on your website. To do so, drag and drop the hand symbol to your email, click on it to make the parameters appear on the right. The added buttons automatically redirect to the authenticated link "Registration Form". In the "Link" section, you can click on the "Registration Form" button to find all authenticated links.
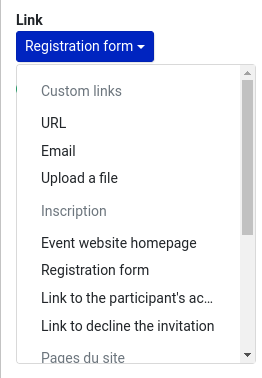
You can also add two buttons side by side by dragging the two little squares symbol to your email. Use these buttons to add links such as "Register" and "Unsuscribe". The buttons automatically redirect to the "Registration form" and the "Link to decline the invitation" respectively.

- Insert tags or URL links to customize your campaign.
- Add a QR Code directly in the body of the email. This way, your guests will be able to present the email directly at the check-in of your event to be checked-in.
- Insert a divider to organize the content of your email.
- Insert columns: Create 2 or 3 columns composed of an image and a text.
- Add your social networks: You can add your social networks beforehand in the General event settings > Organizer identity, then add them in your emails.
For each block inserted, you can:
- Move it: click on the block then click on the cross at the top right of the block and drag and drop it where you want it
- Duplicate it: click on the block then click on the 2 small squares, the duplicated block will be placed directly underneath.
- Delete it: click on the block then click on the trash can icon.
You can modify the font among the following list:
- Arial
- Courier New
- Helvetica
- Times New Roman
You cannot insert other fonts because only the above fonts are supported by the different email clients (Outlook etc...).
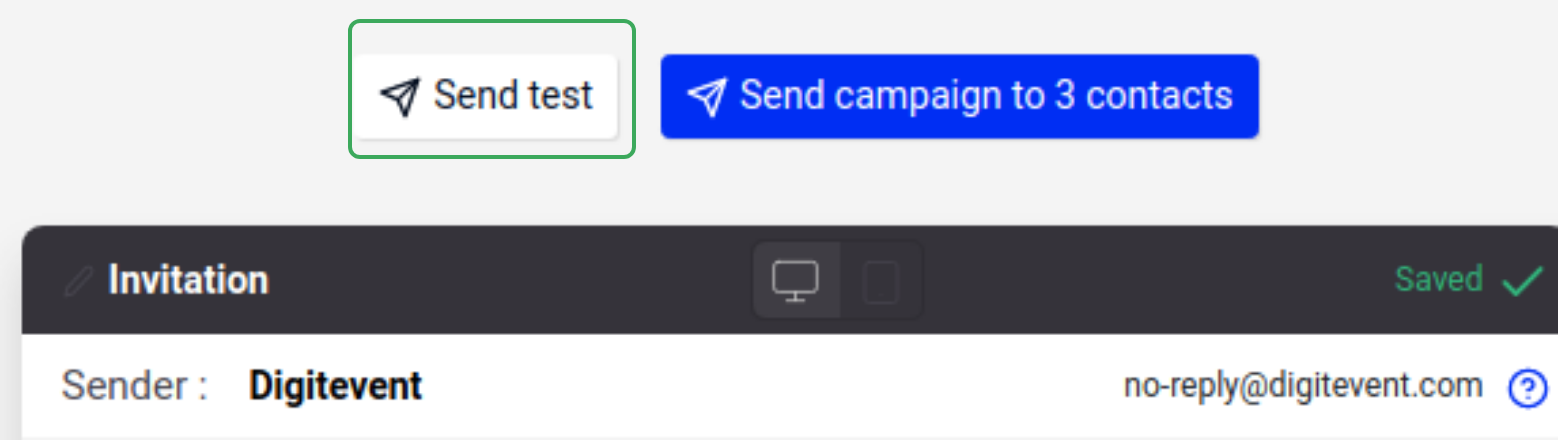
Test your email!
We strongly recommend that you use the "Send test" option available at the top of your campaign.
Finally, if you want to send this campaign to a specific target, segment your mailing by selecting the segments you want to send it to.
Reminder:
The links to be integrated into the buttons are authenticated links. They allow the participant to be automatically recognized and connected when he clicks on the button.
Important:
If you insert authentication links into a button in an email campaign, that email will not be forwardable. If a participant forwards the email they received to a third party, the third party will be logged in as the participant who originally received the email campaign.
Remarks:
- If you want to add an attachment in an email campaign, you can redirect a button to the "Upload a file" link. The file must be in PDF format and must not exceed 3MB. If your file does not comply with the authorized format and size, you can host a document on your side on a drive for example, then insert the sharing link in a text block or in a button to allow your guests to access it.
- In order to send an email or a text message to your database, make sure that the default fields "Email" and "Phone number" are filled in your Digitevent database. If you have created new fields for this information, the campaign will not be sent.